
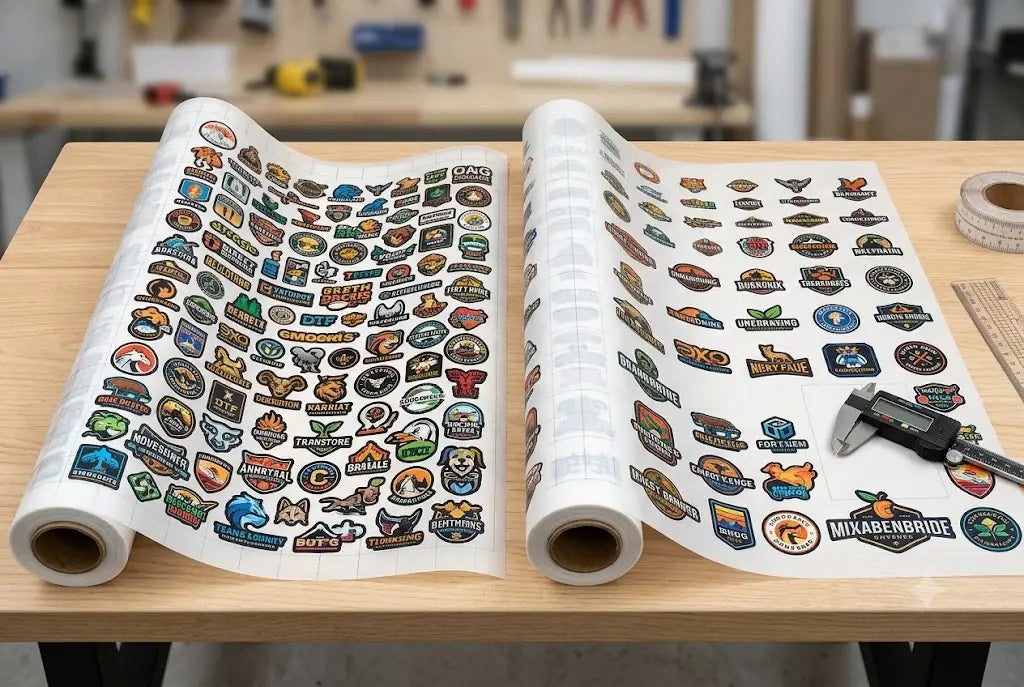
If you are buying DTF film by the roll, you are paying for every square inch whether you use it or not. Most shops waste 20% to 30% of that film without realizing it. And at $90 to $140 per roll, that waste adds up fast. The difference between profit and loss on a bulk order often comes down to how well you fill the sheet.
So which method actually saves more film? Auto nesting with a builder or manual arrangement in Photoshop? The short answer is auto nesting wins on almost every metric that matters for cost, speed, and consistency. But the details matter, especially if you handle corporate orders with mixed sizes.
What Auto Nesting and Manual Arrangement Actually Mean
A DTF gang sheet is a large sheet of that film that holds many smaller designs. How you place those designs is the key.
Manual arrangement means you open Photoshop, Illustrator, or CorelDraw and drag each logo by hand. You eyeball the gaps and try to fit as much as possible. Auto nesting is different. A gang sheet builder uses an algorithm to rotate, sort, and pack your designs automatically to use the least amount of film. You upload the files, set your sheet size like 22x60, and it builds the layout in seconds. This is the core of how to build a gang sheet efficiently at scale.
The True Cost of Empty Space on a DTF Gang Sheet
Film waste is not just empty space. It is money you already spent. Let us break it down with real numbers from current market pricing in 2026.
A 22 inch wide DTF film roll with 328 feet costs about $110 on average. That comes to roughly $0.28 per square foot. A standard 22x60 inch sheet is 9.16 square feet, so about $2.56 in film cost alone. Add ink and powder at about $3.50 per sheet and your total cost per sheet is close to $6.00.
If you waste 25% of that sheet due to poor manual layout, you are throwing away $1.50 per sheet. Run 40 sheets a day and that is $60 per day, $1,300 per month, and over $15,000 per year in film you paid for but did not use. Auto nesting typically brings waste down to 2% to 5%. That difference is pure profit.
And there is another hidden cost. Bad spacing means more cuts, more handling, and slower pressing. If your team spends an extra 10 seconds per design because logos are scattered randomly, a 50-logo sheet costs you an extra 8 minutes of labor.
How to Make a DTF Gang Sheet With Auto Nesting
If you want to maximize gang sheet space, the process should be simple and repeatable. This is how to make a dtf gang sheet using an auto nesting workflow that works for promotional distributors.
First, prepare your files. All files should be 300 DPI PNGs with transparent backgrounds, sized to final print size. This is not optional. Low-res files force you to resize later and that ruins your nesting.
Second, sort your files by size before you upload. Put all 10 inch designs together, then all 4 inch chest logos. This helps the nesting engine pack tighter than random order.
Third, upload to your dtf gang sheet builder and set your sheet width. Most shops use 22 inches. Set your gap to 0.25 inches. This gap is important. Too small and you will have peel issues when cutting. Too large and you waste film.
Fourth, let the builder rotate. Allow 90 degree rotation. Many logos are wider than tall and rotating them fills corner gaps perfectly. This one setting alone can improve usage by 12%.
Finally, download the proof. Check that no design is too close to the edge. Keep 0.5 inches clear on all sides so the printer can grip the film.
Manual Layout: Where It Still Makes Sense and Where It Fails
Manual arrangement has one advantage. Control. If you are building a highly branded custom gang sheet for a marketing agency where placement must follow a specific visual mockup, doing it by hand in Photoshop gives you pixel-level control.
But for bulk, manual fails in three places.
It is slow. Even a fast designer takes 30 to 45 minutes to manually arrange 40 mixed-size logos on a 22x60 sheet. A builder does the same in under 90 seconds. For an order of 20 sheets, that is 12 hours of labor versus 30 minutes.
It is inconsistent. Humans get tired. The 15th sheet of the day will have bigger gaps than the first one. And one overlap that you miss can ruin a $6 sheet plus ink.
It cannot calculate true nesting. A human can place things in a grid. An algorithm can try 1,000 different rotations and placements to find the tightest pack. You simply cannot do that by eye. This is why manual layouts average 70% to 75% film usage while auto nesting consistently hits 90% to 95%.
Gang Sheet Layout Tips That Save Film Every Time
Whether you use a tool or not, these gang sheet layout tips will improve your usage right away.
Think in rows, not scatter. When using Blank Apparel, place all designs of the same height in a single horizontal row. This creates clean cutting lanes and uses width more efficiently than random placement.
Use the corners. Small 2 inch logos fit perfectly in the leftover space next to a large back print. Manual designers often leave those corners empty. Auto nesting fills them automatically.
Do not fear rotation. A 4x10 inch sleeve logo turned sideways takes up the same space but allows two chest logos to sit next to it. Rotation is the biggest lever to maximize gang sheet space.
Group by client, not by size, when you press. If you are a corporate branding firm handling an order for 5 departments, keep all designs for one department together on the sheet. It costs a little film but saves a lot of time in sorting and packing.
Read more Tips for DTF File and Sizing.
Custom Gang Sheet Strategy for High-Volume Orders
A custom dtf gang sheet is not just a collection of designs. It is a production plan. For promotional distributors handling 300 shirts with 4 different logos each, the sheet should reflect how the shirts will move through your shop.
If you are pressing 100 shirts with a left chest and a full back, place 10 chest logos for every 2 back logos in repeating blocks. That way your press team can cut one block and press 10 shirts without switching piles.
This is where a custom gang sheet built with auto nesting really shines. You can set quantities. Need 50 of logo A and 20 of logo B? The builder will duplicate them correctly and still pack tight. Doing that manually in Photoshop is where mistakes happen.
At DTF Promo, we see bulk orders that use quantity-based nesting reduce total sheets needed by 18% compared to single-quantity layouts. On a 50 sheet order, that is 9 sheets saved, or about $54 in materials alone.
Ready to order? Send your artwork and get an optimized gang sheet printing.
So Which Should You Use to Maximize Film?
For any order over 2 sheets, auto nesting is the clear winner. It is faster, uses less film, and removes human error. The average shop we audit improves film usage from 72% to 93% in the first week after switching. That is a 21 point gain without changing ink or film.
Manual arrangement still has a place for one-off, highly artistic sheets where visual presentation matters more than cost. But if your goal is to maximize DTF film usage for business, the data is not close.
The best workflow is hybrid. Use a dtf gang sheet builder for the heavy lifting, then do a quick 30 second visual check. You get the speed of automation and the confidence of human review. And you stop paying for empty space.
Conclusion
Film is one of your few fixed costs that you can control every single day. Ink prices change. Labor changes. But how much of that roll you actually use comes down to how you build your sheet. Auto nesting does not just save film. It saves hours of design time, reduces reprints, and makes your press team faster.
If you are still arranging by hand, run a test. Take your last 22x60 sheet built manually and rebuild it with a builder. Measure the empty space. Most shops see an instant 15% to 25% improvement. That improvement, repeated over hundreds of sheets, is what turns a busy shop into a profitable one.
For bulk DTF work, efficiency is not about working faster. It is about wasting less of what you already paid for. And that starts with a tighter DTF gang sheet.
What's Your Next Step?
Browse our services at DTF Promo and learn how we maximize every inch of film.
Frequently Asked Questions
How Do I Maximize DTF Film Usage on a Gang Sheet?
Use auto nesting and allow 90 degree rotation. Keep 0.25 inch gaps between designs and 0.5 inch margins on edges. Group similar heights together to create clean rows. This method typically lifts film usage from 70 percent to over 90 percent. For best results, prepare all files at 300 DPI and final size before nesting to avoid last-minute resizing.
What Is Auto Nesting in a DTF Gang Sheet Builder?
Auto nesting is an algorithm that automatically arranges multiple designs on a sheet to use the least film possible. It tests hundreds of placements and rotations in seconds. Unlike manual grids, it fills irregular gaps with small logos. The result is tighter packing, less waste, and consistent spacing for easy cutting and reliable peel during pressing.
Is Manual Arrangement Ever Better Than a Gang Sheet Builder?
Manual can be better for one-off artistic sheets where exact visual placement matters more than cost. For bulk, it is not. Manual takes 30 to 45 minutes per sheet versus 90 seconds with a builder. It also wastes 15 to 30 percent more film and has a higher risk of overlapping errors that cause reprints.
How Much Film Can I Save With a Custom Gang Sheet?
Most shops save 18 to 25 percent of film when switching from manual to auto-nested custom gang sheets. On a roll costing $110, that is about $22 saved per roll. For a shop using 10 rolls per month, yearly savings exceed $2,600 just in film, not counting 40 plus hours of labor saved monthly on layout work.
What Gap Should I Leave Between Designs on My DTF Gang Sheet?
Leave 0.25 inches between each design. This gives enough room for scissors or a plotter to cut without nicking the next transfer. Keep 0.5 inches clear on all four outer edges for printer grip. Smaller gaps increase risk of peel failure, larger gaps waste film quickly across bulk orders and increase your total sheet count.
How to Build a Gang Sheet for Mixed Size Logos?
Sort logos by height first. Place the tallest designs in the first row, then fill remaining width with medium and small designs. Allow rotation for rectangular logos. Use a builder that supports quantity duplicates. This row-based method creates natural cutting lanes and packs much tighter than random scattering of mixed sizes across the sheet.
Does DTF Promo Offer Auto Nesting for Bulk Orders?
Yes, DTF Promo includes auto nesting on every bulk order. You upload your files and our builder optimizes the layout for film usage and cutting speed. We also review each sheet for spacing and file quality before printing. This ensures you get maximum designs per sheet with consistent print quality and fast turnaround on large runs.
What File Type Is Best for DTF Gang Sheet Printing?
Use PNG with transparent background at 300 DPI and actual print size. Avoid JPG because it adds a white box that wastes ink and looks bad. Flatten text and remove semi-transparent shadows under 40 percent opacity. Clean files nest tighter and prevent preflight delays that slow down your bulk order processing significantly.
Can I Reuse My DTF Gang Sheet Layout for Reorders?
Yes, always save your final layout as a print-ready file named by client and date. When that client reorders, you can reprint the same sheet without rebuilding. Shops using saved layouts cut reorder processing time from 45 minutes to under 5 minutes. This is a major advantage of builder workflows over manual Photoshop files.
How Do I Price DTF Gang Sheets When I Maximize Space?
Calculate your total sheet cost including film, ink, powder, and labor, then divide by number of usable transfers. If you increase usage from 70 to 90 percent, your cost per transfer drops by about 22 percent. You can keep your retail price the same and keep the margin, or pass savings to win more bulk corporate accounts.