
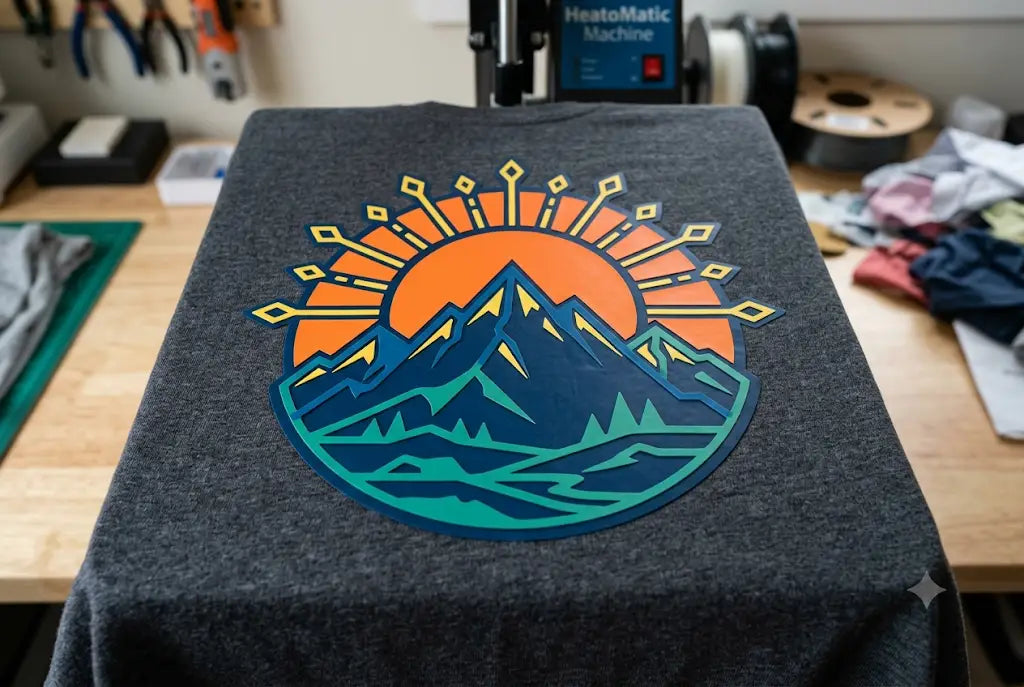
Can you press a DTF transfer on top of another one without it peeling next week? Yes, you can, and shops do it every day to add names over numbers, create puff effects, and build multi-color designs that screen print can’t touch. The DTF Layering Process is just pressing, peeling, and pressing again with the right settings. When you miss one variable, you’ll get ghost edges, poor adhesion, and $8-$12 lost per shirt in materials and labor.
This DTF transfer guide shows you exactly how to layer DTF transfers so the bond holds for 50+ washes. We’ll cover temperature ranges, dwell time, alignment tricks, and the mistakes we see most in real production. No theory. Just what works on press after press.
What Is The DTF Layering Process
DTF Layering Process means applying two or more DTF heat transfers to the same garment area. The first layer is pressed, peeled, and then the second layer is aligned and pressed directly on top. The adhesive on each film reactivates and bonds to both the fabric and the layer below.
This is different from single-press DTF transfer printing. With layering, you’re building depth, contrast, or detail. Think white underbases with color on top, puff over flat, or a small name over a large chest graphic for New Albany sports teams.
It works because DTF adhesive is thermoplastic. When you bring it back to 300-320°F for 8-10 seconds at medium-firm pressure, it softens and grabs again. The key is cooling fully between presses so you don’t distort the first layer.
Step-By-Step: How To Layer DTF Transfers
Step 1: Press the base layer
Set your press to 305°F with medium-firm pressure. Do a 3-second pre-press to remove moisture, then lay the film and press for 10 seconds. Let the shirt rest 15 seconds before you peel, and only peel once it’s cool to the touch.
Step 2: Align the top layer
Use registration marks or a T-square to line it up. Low-tack tape helps keep it from shifting. Don’t eyeball it, especially when you’re running 50 pieces.
Step 3: Press the top layer
Use the same temp at 305°F for 8 seconds. Put a Teflon sheet or parchment over the top. This protects the first layer and keeps pressure even across the design.
Step 4: Cool and peel
Wait the full 15 seconds before peeling. Rushing this step is where most adhesion failures start.
Step 5: Final seal
Do one last press for 5 seconds with light pressure and a cover sheet. This locks both layers and gives you that smooth, consistent finish customers expect.
Get DTF Transfers by Size or Upload Your Artwork for Printing.
Best Practices For DTF Transfer Layering
- Pressure matters more than heat. Too light and the second layer won’t bond. Too heavy and you’ll crush puff or push adhesive out the edges. Aim for 40-50 psi on a clamshell. Test with a pressure gauge, not your shoulder.
- Cool time is non-negotiable. If you peel while the film is still warm, you’ll stretch the design. Wait 15 seconds. Set a timer. In production, that 15 seconds is cheaper than a reprint.
- Use a cover sheet every time. Parchment, Teflon, or a heat-resistant pad prevents scorching and keeps gloss consistent across layers.
- Limit your stack to 2-3 layers. Can you overlap DTF transfers more than that? Technically yes. But after three layers, hand feel gets heavy and wash durability drops. For most apparel, two is the sweet spot.
- Finally, test wash one sample before the full run. 24 hours after pressing, wash it inside out on warm. If it survives that, it’ll survive 50.
Common Mistakes And DTF Transfer Troubleshooting
Most problems come down to three things: temp drift, bad pressure, and rushing the peel.
- If edges lift after wash, your pressure was too low or your second press was too short. Bump dwell to 10 seconds and check psi.
- If you see a halo or ghost around the first layer, you pressed too hot or too long. Drop to 300°F and shorten to 8 seconds on the top layer.
- If colors look dull, you skipped the cover sheet. The direct platen will matte the ink. Always buffer.
- For shops in Shively and Shepherdsville running high volume, calibrate your press monthly. A 15°F drift will kill consistency. Use an infrared thermometer and log it.
Struggling with peeling or ghosting? Send us a photo and we’ll diagnose it. DTF Promo offers same-day troubleshooting for local shops.
Can You Overlap DTF Transfers
Yes, you can overlap DTF transfers by about 1/16 inch for a clean edge. Overlap more than that and you’ll feel a ridge and risk lifting.
The trick is to place the darker color on top. It hides any tiny gap and looks intentional. For outlines, knock out the bottom layer instead of stacking. That keeps hand feel light.
On stretch fabrics, avoid heavy overlaps. The garment will pull and the ridge will crack. Use thinner film and lower pressure for these jobs.
When To Layer And When To Avoid It
Layer for: names over numbers, puff effects, white underbase on darks, small corrections.
Don’t layer for: large solid blocks, athletic polyester with low temp needs, or anything needing a super soft hand. In those cases, print it as one piece.
If you’re new, start with cotton tees. They’re the most forgiving. Once you’ve got 20 good shirts, move to blends.
DTF Promo Press Settings Quick Reference
We see this question daily, so here’s what we run in our own shop.
- Base layer: 305°F, 10 sec, medium-firm, cool 15 sec.
- Top layer: 305°F, 8 sec, medium-firm with cover sheet, cool 15 sec.
- Final seal: 300°F, 5 sec, light pressure.
Write these on your press. Don’t guess. And check them every Monday.
Conclusion
Layering isn’t hard, but it’s unforgiving. The DTF Layering Process rewards shops that follow the same steps every time and punishes anyone who rushes. Test and experiment with layering different colors before ordering bulk transfers. That way, you’ll cut reprints, increase profit per shirt, and offer designs your competitors can’t. That’s how small shops scale without buying more equipment.
Start exploring DTF Promo to get ready-to-press transfers and a range of DTF supplies to start your multi-layer projects. Don’t forget to send us photos!
Frequently Asked Questions
How Does The DTF Layering Process Work?
The DTF Layering Process is pressing one transfer, cooling it fully, peeling, then pressing a second transfer on top. The adhesive reactivates at 300-320°F and bonds to both fabric and the layer below. Cool 15 seconds between presses and use a cover sheet to protect the first layer and ensure durability.
Can You Press DTF Twice On The Same Shirt?
Yes, you can press DTF twice. The key is full cooling between presses. Press the base for 10 seconds at 305°F, cool 15 seconds, peel, then align and press the top layer for 8 seconds. Skipping the cool time causes bubbling and poor adhesion. Always use a Teflon sheet on the second press.
How To Layer DTF Transfers Without Peeling?
To layer without peeling, use medium-firm pressure around 40-50 psi and cool each layer fully before peeling. Press at 305°F for 8-10 seconds. Don’t stretch the garment during alignment. Finish with a 5-second light seal. Washing inside out after 24 hours also improves long-term bond strength for customers.
Can You Overlap DTF Transfers For A Clean Look?
Yes, overlap by 1/16 inch max. Place the darker color on top to hide any gap. More than that creates a ridge and lifting risk. For best results, knock out the bottom layer instead of stacking when possible. This keeps hand feel light and reduces wash issues on stretch fabrics.
What Are The Best DTF Transfer Techniques For Beginners?
Start with cotton. Pre-press 3 seconds, press base 10 seconds at 305°F, cool 15 seconds, peel, then press top 8 seconds. Use registration marks and low-tack tape. Always use a cover sheet. Test wash one sample before full production. Log your press settings so you can repeat them exactly.
Why Is My Second Layer Lifting After Washing?
Lifting usually means low pressure or short dwell time. Increase to 40-50 psi and press 8-10 seconds. Also check that you cooled fully before peeling. If your press temp drifts, use an IR gun to verify. Always make sure that you are using the right heat press sttings to avoid peeling.
Is DTF Transfer Printing Better Than Screen Print For Layering?
For runs under 72 pieces, yes. DTF transfer printing has no screen setup cost and allows multi-color layering in minutes. The screen printing method is cheaper at high volume. But for names, numbers, and corrections, DTF wins. Material cost is $3-$4 per shirt and turnaround is the same day, which local teams prefer.
What Temperature Should I Use To Layer DTF Heat Transfers?
Use 300-320°F. We recommend 305°F for both layers. Too hot scorches and causes gloss changes. Too cool and adhesion fails. Keep dwell at 8-10 seconds. Always use a cover sheet. Shops across Anchorage and Charlestown get the most consistent results at 305°F with medium-firm pressure.
How Many Layers Can You Do With DTF Transfer Layering?
Two to three layers is ideal. After three, hand feel gets heavy and wash durability drops. For most designs, base plus top is enough. If you need more detail, consider printing it as one gang instead of stacking. This keeps shirts soft and reduces production time.
Where Can I Get Help With DTF Transfer Troubleshooting?
Start by checking temp, pressure, and cool time. If problems persist, send photos to DTF Promo and we’ll review them. We work with shops in different industries and can help troubleshoot cracking, peeling, and durability issues with guidelines that have been tested and tried for over a decade.
Author Bio
We’re a team of production printers who have been running DTF presses for 20 years. Layering is where most shops lose money, so we made it our specialty. We’ve tested the DTF Layering Process on team jerseys, workwear, boutique tees, and performance blends, and we keep a log of every failure so we can teach you what not to do. Outside the shop, we’re still testing new films on the press on Sundays and picking up design ideas at local markets.